Essential Tips For Protecting The Foundation For Your New Flooring
When you’re renovating, there are certain things you might not think about. One of them could be removing the carpet. At first glance, it may seem simple, and you might even believe you can handle it yourself.
However, did you know that without the right knowledge, you could end up damaging the subfloor?
After all, this layer will serve as the foundation for your new flooring. If you’re planning to switch to wood, tile, or other options like vinyl planks, protecting the subfloor is essential.
Step-by-Step Carpet Removal
Before diving into the process, it’s important to understand each stage clearly. Following these steps will help you remove your carpet safely while keeping the subfloor in excellent condition.
Step 1: Preparing Your Space
Start by moving all furniture out of the room. If you’re handling larger items like sofas or beds, ask for help to avoid injuries or scratches on the walls. Some companies even offer furniture removal in Maricopa to help you save time and effort. Next, gather the tools you’ll need:
- Utility knife with fresh blades.
- Pliers.
- Work gloves.
- Safety goggles.
- Dust mask.
- Pry bar and hammer (for tack strips and moldings).
If you want to make cleanup easier, have bags or containers ready to dispose of the old carpets. If you’d rather not handle this process yourself because cleaning isn’t your thing, it may be worth hiring a specialized team to take care of everything for you.
Step 2: Identify Carpet Installation Type
Not all carpets are installed the same way. The method used directly affects the removal process:
- Tack strips: The carpet edges are anchored with sharp strips placed around the room’s perimeter. This common residential method holds the carpet firmly in place but requires care during removal to avoid damaging the subfloor or injuring yourself.
- Glue-down installation: Adhesive is spread across the subfloor to secure the carpet. While this creates a smooth, lasting finish, it makes removal more time-consuming and often requires extra scraping to clear adhesive residue without harming the subfloor.
This step is crucial. A common mistake is removing all carpets in the same way, which can cause damage to the subfloor. Before getting started, be sure to identify how the carpet was installed.
Step 3: Cutting & Removing Carpet
Begin in a corner of the room. Use pliers to grip the carpet edge and pull it up from the tack strip. Once you have a section lifted, cut the carpet into manageable strips, about three to four feet wide. Rolling these strips as you go keeps the workspace organized and makes disposal easier.
If your carpet is glued down, cut smaller sections to minimize strain and damage to the subfloor. Use a floor scraper to separate the carpet backing from the adhesive carefully. Work slowly to avoid gouging wood or concrete.
Does it seem too complicated? There’s still time to call in professionals to avoid headaches and subfloor damage.
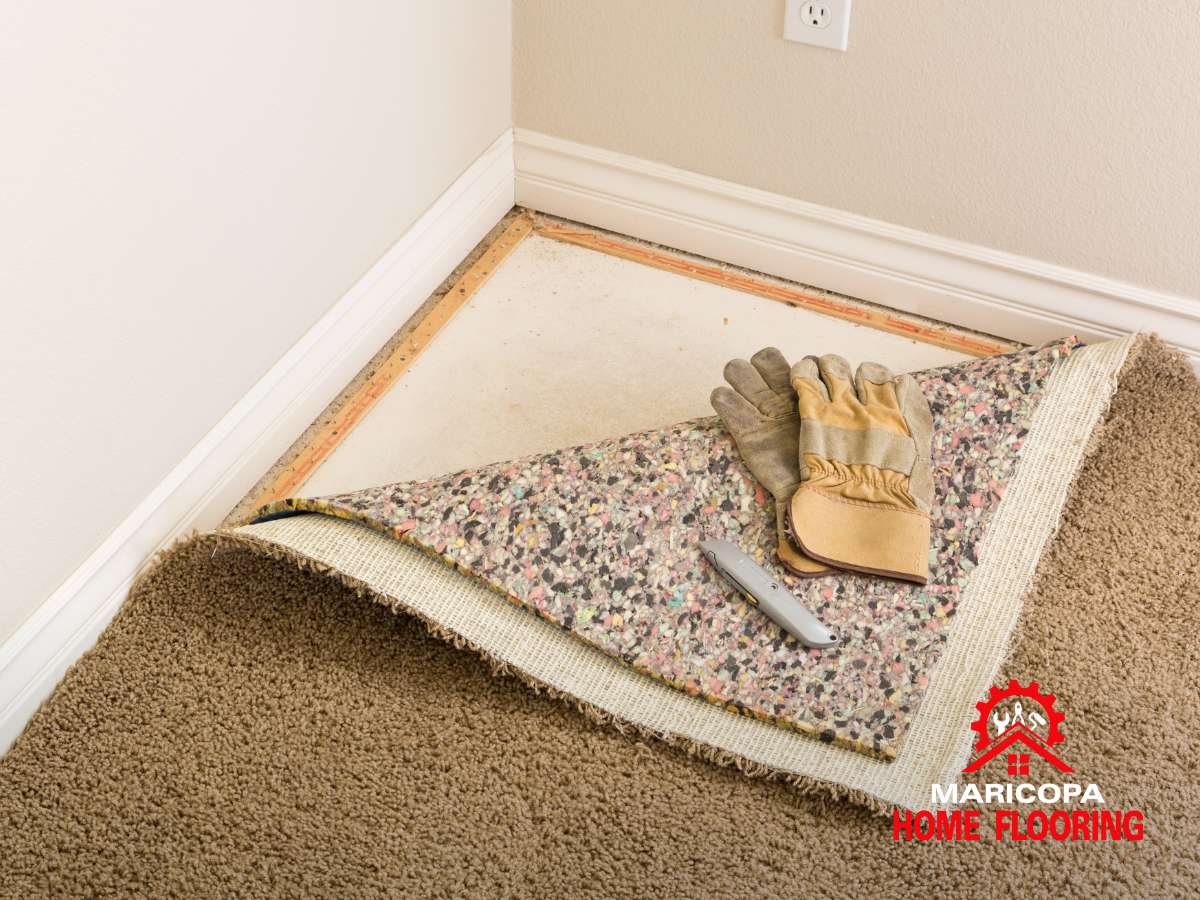
Step 4: Removing The Padding
Beneath the carpet lies a layer of padding, which is typically secured differently depending on your subfloor material:
- Wood subfloors: The padding is usually secured with staples. Use pliers or a staple remover to pull them out carefully, protecting the wood surface for a smooth transition to your new flooring.
- Concrete subfloors: Padding is often glued directly to the surface. A sturdy scraper can lift most of it, but some areas may require an adhesive remover to clean the subfloor completely without causing damage.
This step is essential because leftover staples or glue can compromise your new flooring installation. For example, when it comes to flooring removal in Maricopa, professional technicians ensure every staple, nail, and trace of adhesive is carefully removed before moving on to the next step.
Step 5: Tack Strips & Molding
If you plan to reuse your baseboards or quarter-round molding, remove them gently with a pry bar and hammer. Store them carefully so they don’t crack or bend before reinstalling. Tack strips, on the other hand, are often sharp and splintered. Remove them cautiously and dispose of them safely.
Wear gloves throughout this process, since tack strip nails can cause injuries. Once these are cleared, the subfloor will be ready for inspection.
Step 6: Inspecting & Preparing The Subfloor
After the carpet and padding are gone, it’s time to give your subfloor the attention it deserves. Vacuum thoroughly to eliminate dust, staples, and small debris. Look closely for signs of damage, such as cracks, uneven areas, or squeaky spots.
Addressing these issues now is vital, especially if you’re preparing for carpet installation in Maricopa or other new flooring. A flat, stable surface ensures the longevity of the next floor covering. Depending on the condition, you may need to fill gaps, or sand rough spots to create an even foundation.
Step 7: Common Challenges & Solutions
Carpet removal can come with unexpected obstacles:
- Hidden damage: Subfloor issues are sometimes revealed only after carpet removal. Be ready to address repairs before installing your new flooring.
- Excessive dust: Wear a mask to protect your health, and consider professional dust-free removal services if you are sensitive to airborne particles.
- Stubborn adhesives: Use an adhesive remover or a heat gun on small sections to soften and scrape away residue without harming the subfloor.
This process is not for the impatient. Rushing when scraping or prying can cause damage that will require subfloor repairs.
Step 8: Preparing For New Flooring
With the old carpet gone and your subfloor prepared, you’re ready for a fresh start. At this stage, many homeowners transition directly into installing hardwood, vinyl, or laminate. Professional companies often handle the transition seamlessly.
For example, if you’re considering carpet replacement in Maricopa, the team you hire can manage both removal and installation, saving you time and ensuring precision.
Why Hire Professionals For Carpet Removal?
While removing carpet on your own may seem straightforward, there are several reasons why hiring professionals is often the smarter choice:
- Protecting the subfloor: A professional team knows how to carefully detach carpet and padding without scratching, gouging, or weakening the subfloor. This ensures the foundation remains intact and ready for new flooring.
- Saving time and energy: Carpet removal involves heavy lifting, cutting, rolling, and hauling. Professionals work efficiently, handling the entire process so you don’t spend days on a task that can be done in hours.
- Long-term results: If you want your next floor to be installed without issues, this is the solution. Professionals will take care of preparing the subfloor, removing staples, adhesive, and imperfections.
In other words, if the task seems too complex, you don’t have much time, or you simply want to ensure the best results, it’s best to leave it in expert hands.
Ready For Your Next Flooring Upgrade?
Removing carpet without damaging the subfloor is entirely achievable with the right tools, safety precautions, and attention to detail. Protect your subfloor because it’s the foundation of whatever flooring you choose next!
If you’d prefer to avoid the dust, heavy lifting, or disposal, let us take care of it for you. With over 20 years of experience, Maricopa Home Flooring provides complete residential flooring services, including removal and installation. Contact us today!

